
Last month, I shared my new laundry room with you. This month, I’ll show you how we transformed our dreary cold basement into a welcoming suite. Our entire basement is about 600 square feet, and it includes the laundry room, furnace room, bathroom, bedroom and a living area with kitchen.
Our goal was to make the basement shareable. That is, if a future homeowner wanted to have an adult child or other relative live there, or if they needed a nanny or granny suite, this area would be private enough to allow for that. Our reasoning was simple: home prices in our part of Richmond Hill are getting out of reach for some buyers, even though our houses are quite small. It’s a family neighbourhood with lots of schools and parks, and it’s walking distance to a mall. However, first-time buyers may not be able to afford our home. We thought that our basement suite would allow them to share the mortgage with someone. In future, if Richmond Hill allows basement apartments, our suite may even be able to generate rental income.
We’ve divided the basement so that we can access the laundry room without entering the suite. There’s a door separating the suite from the vestibule leading to our garage, and off of this vestibule, we access our laundry room through a pocket door. The suite door can be locked for added privacy. Beyond that door is a fully contained suite with bathroom, bedroom with large closet, and a great room with kitchen. The suite’s occupants can still share the laundry room, as required.
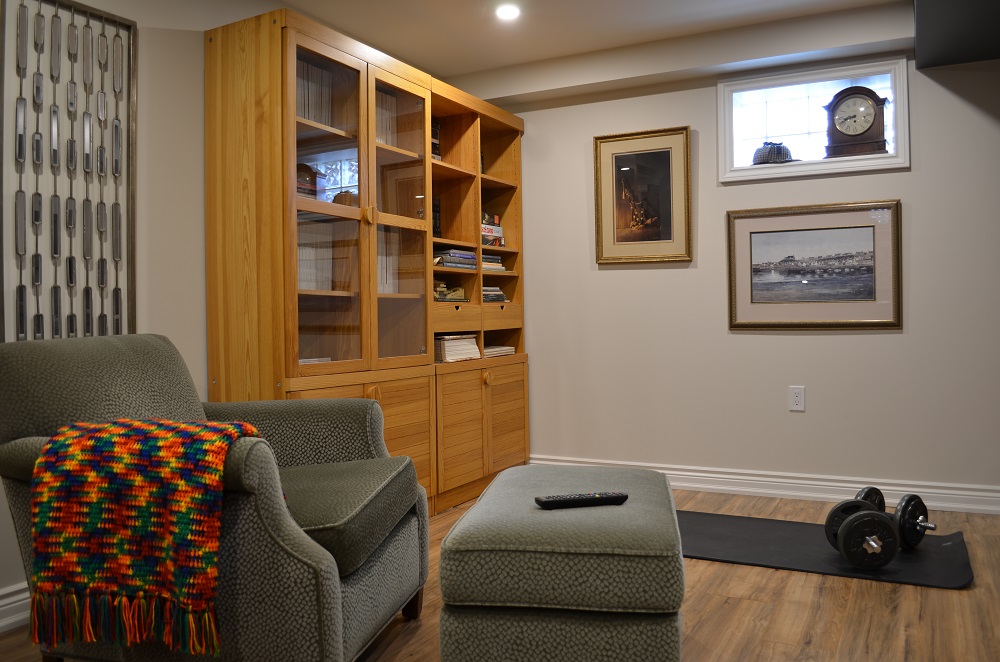
Below, I’ll share the design details of the great room/kitchen area, which takes up about 200 square feet of the 600 square foot total. Currently, my 20-year-old son is staying in the suite, while he’s on a 4-month work term in Toronto. I can assure you that it no longer looks as neat as it did in these photos, but it’s working well for him.
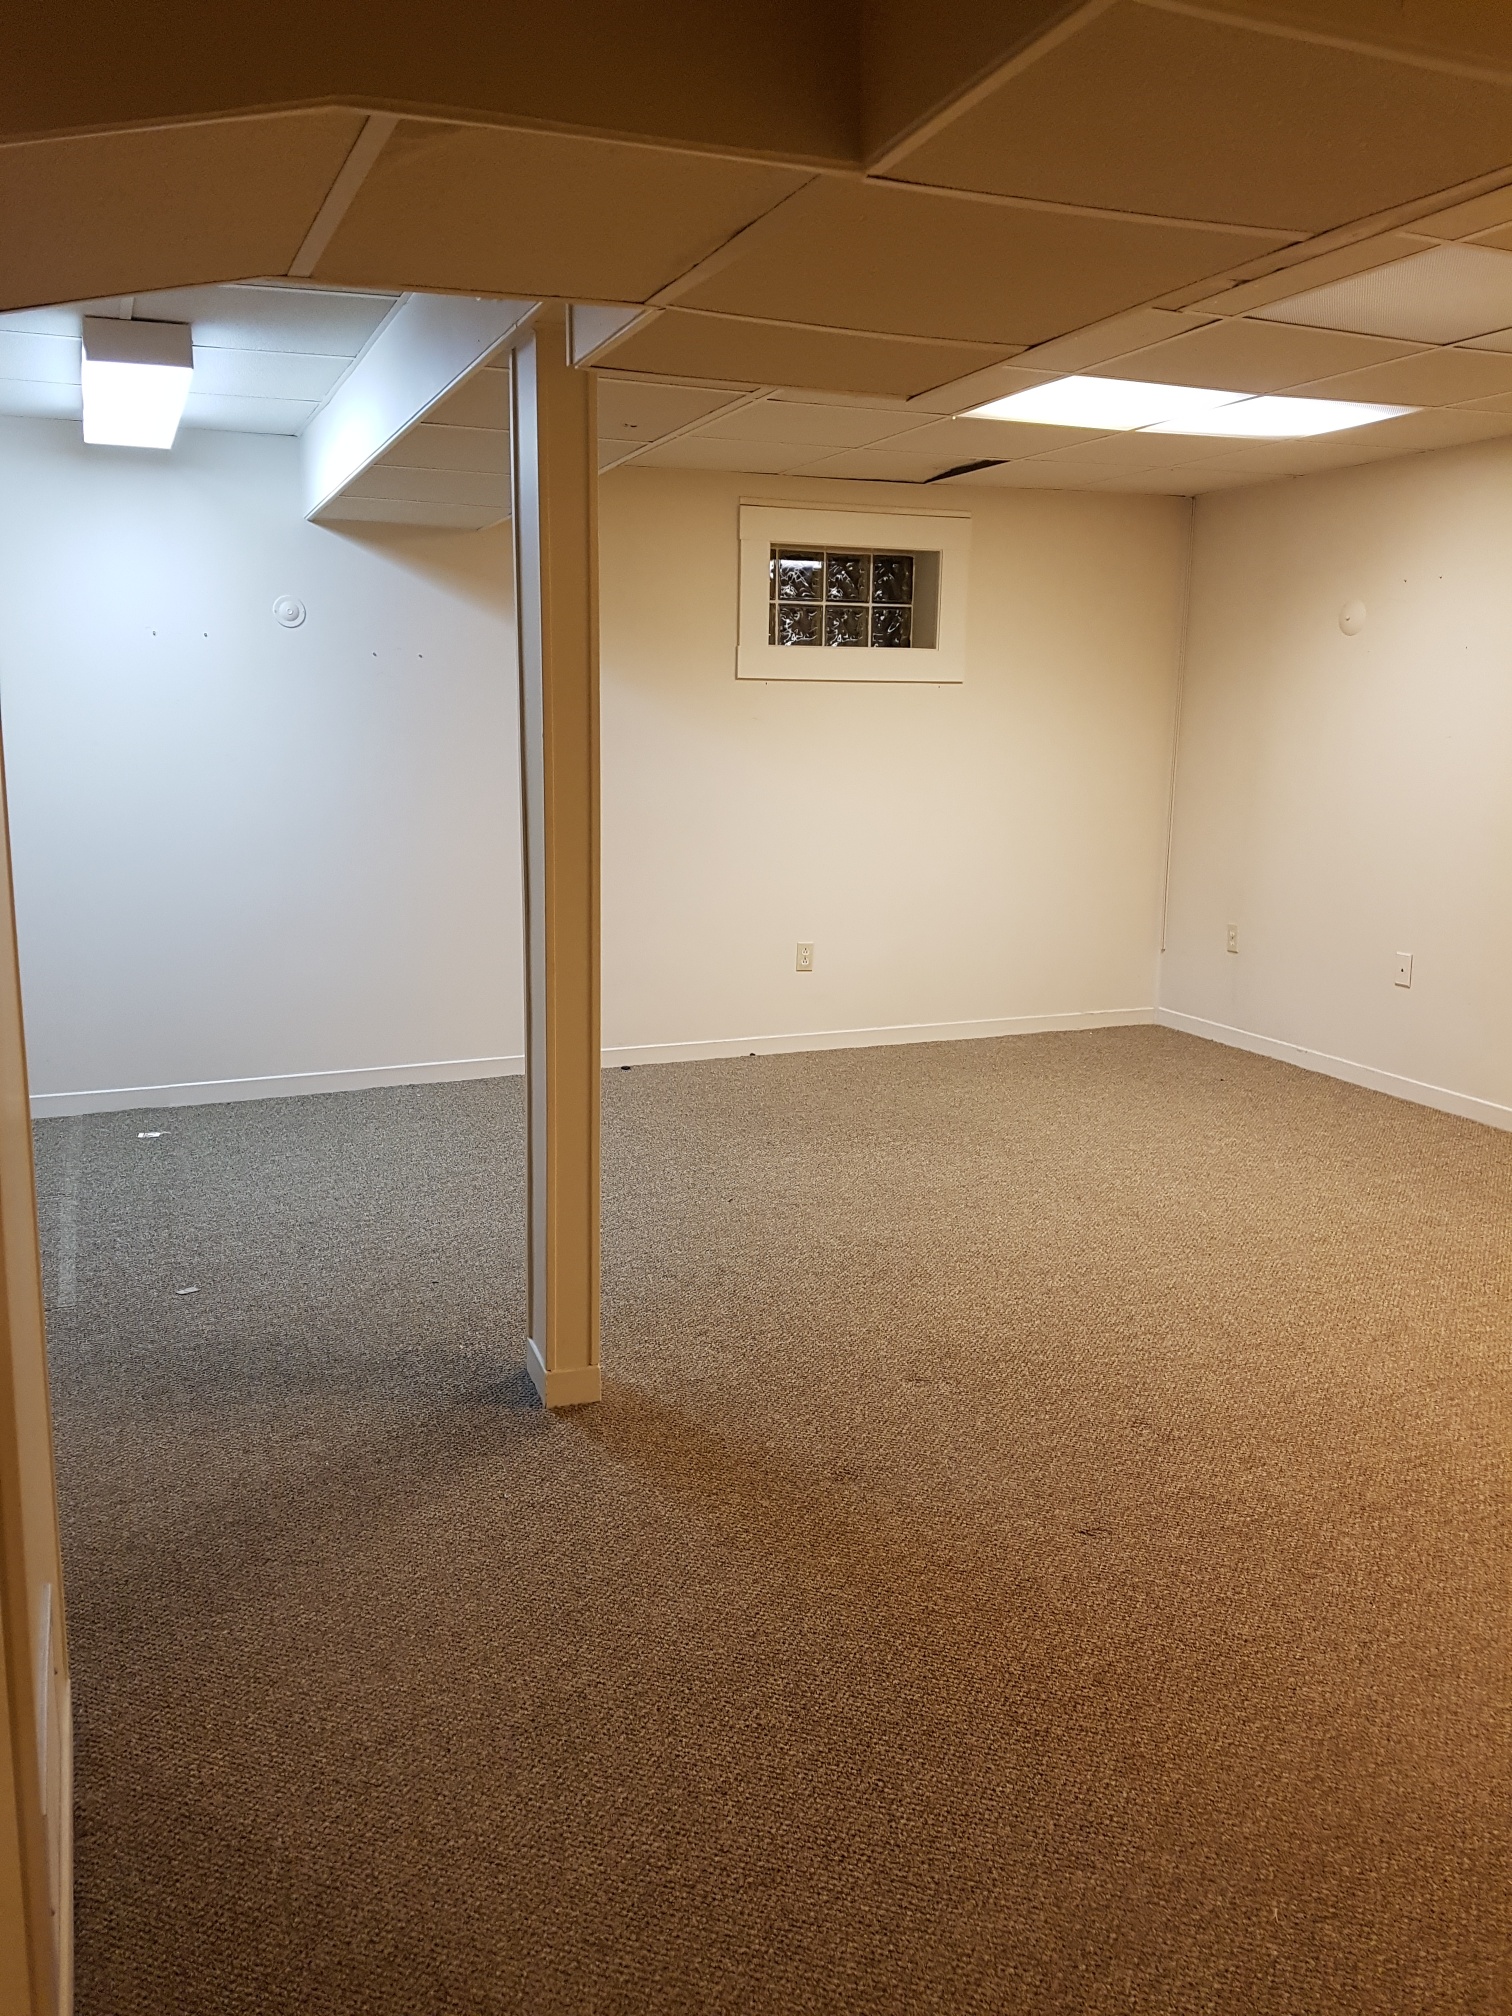
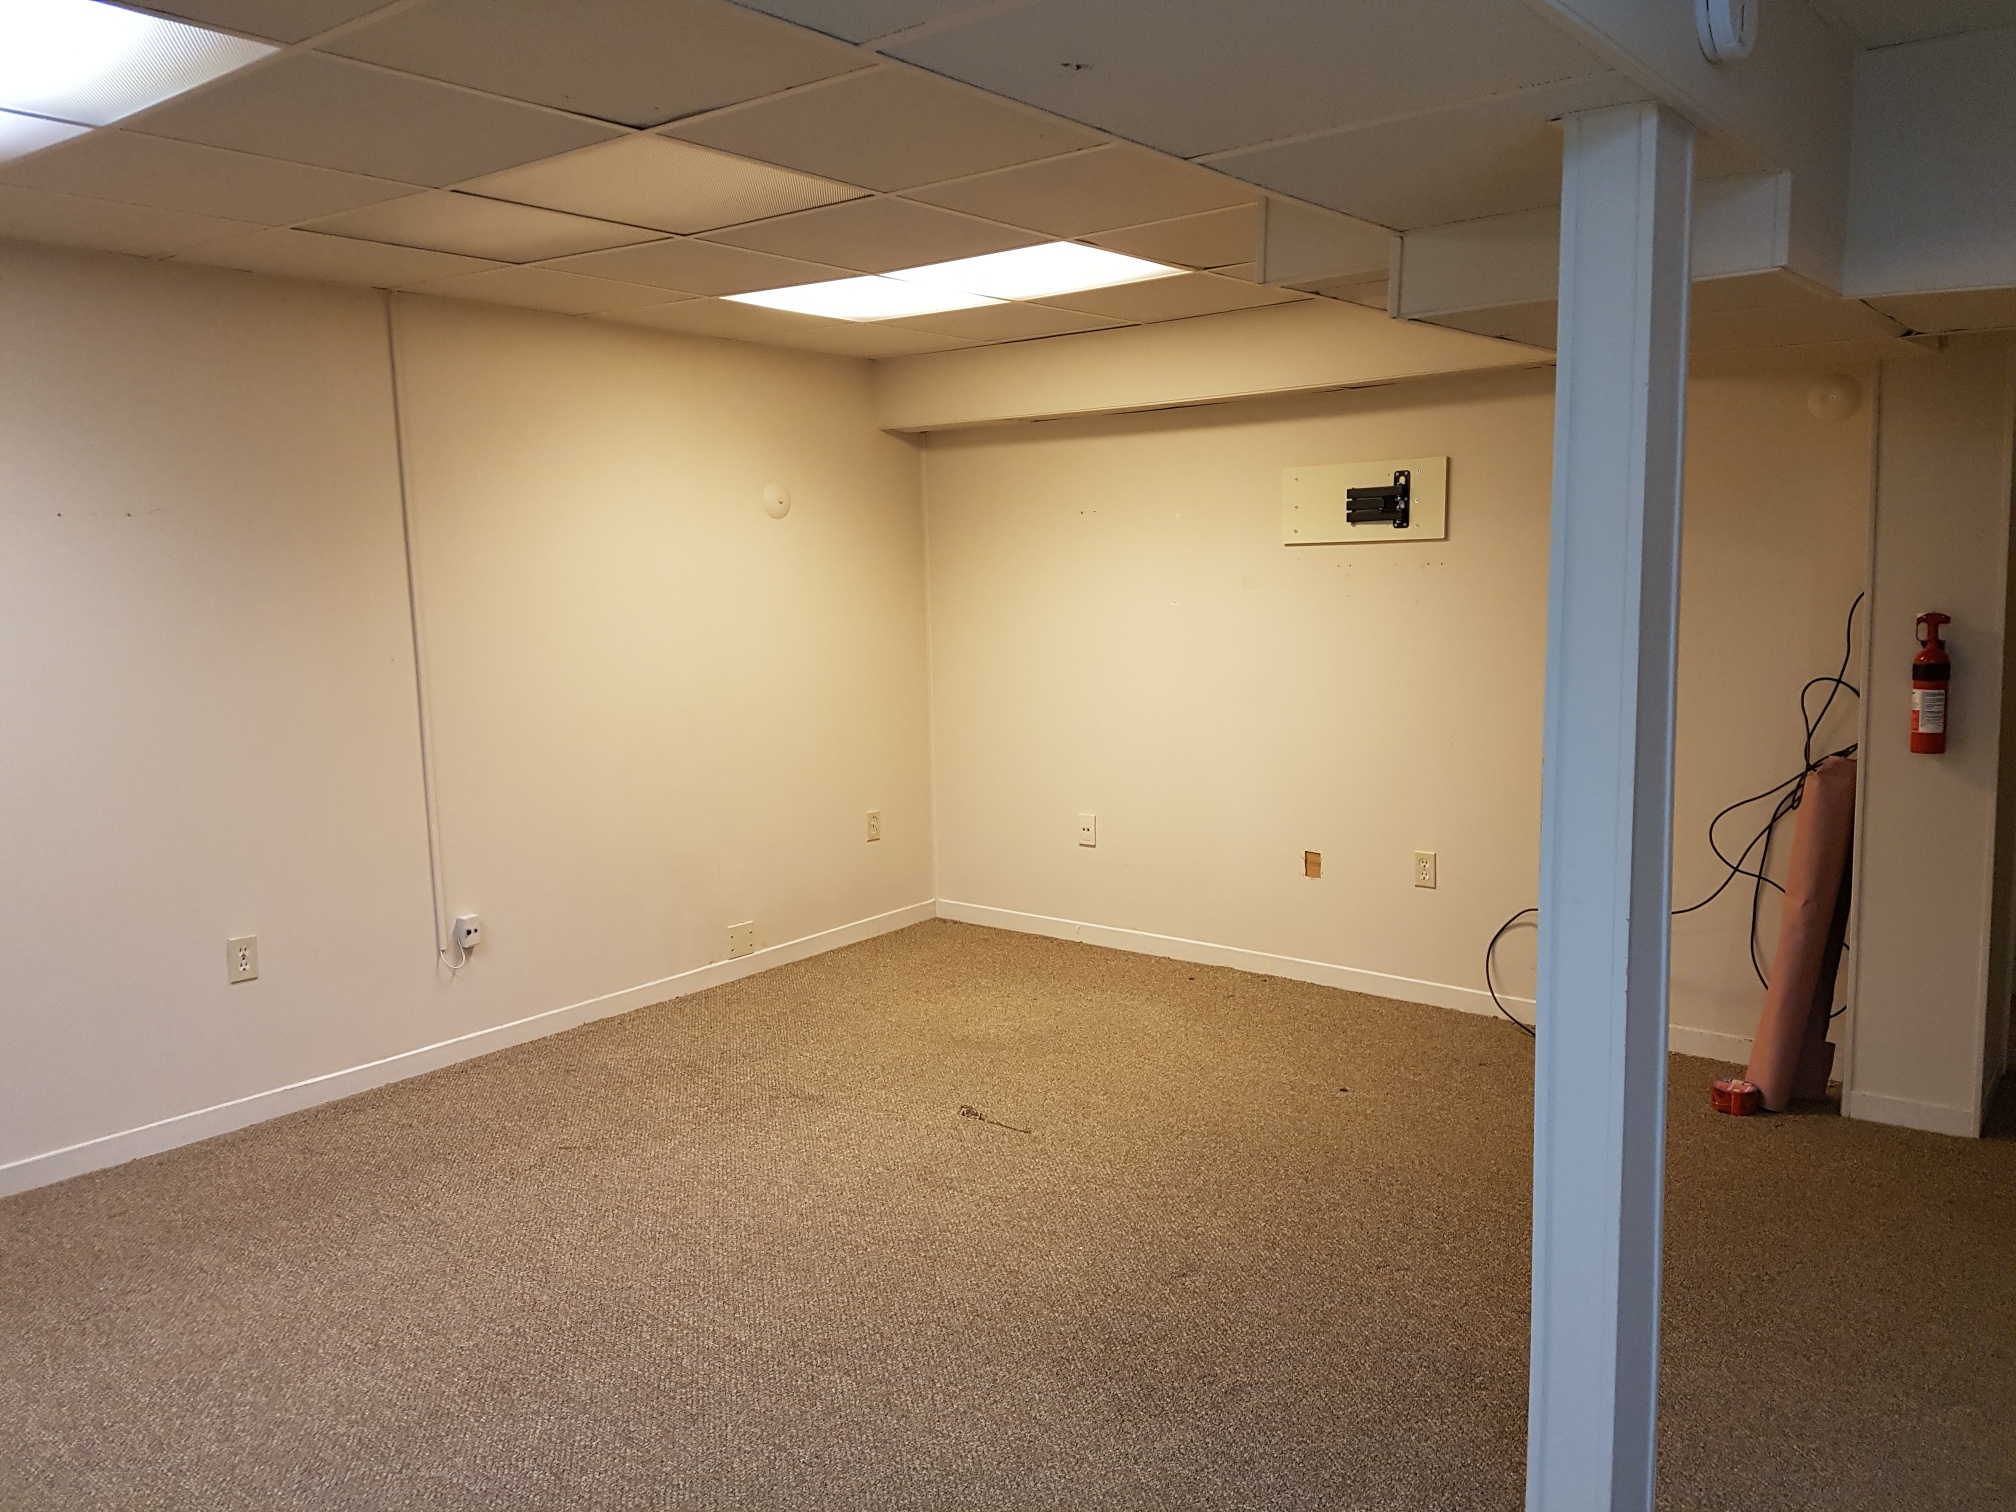
Before
Our basement was long overdue for an overhaul. We had painted the 70’s paneling and replaced the carpet, but it was cold year-round (no insulation) and generally very sad. Our hit list included:
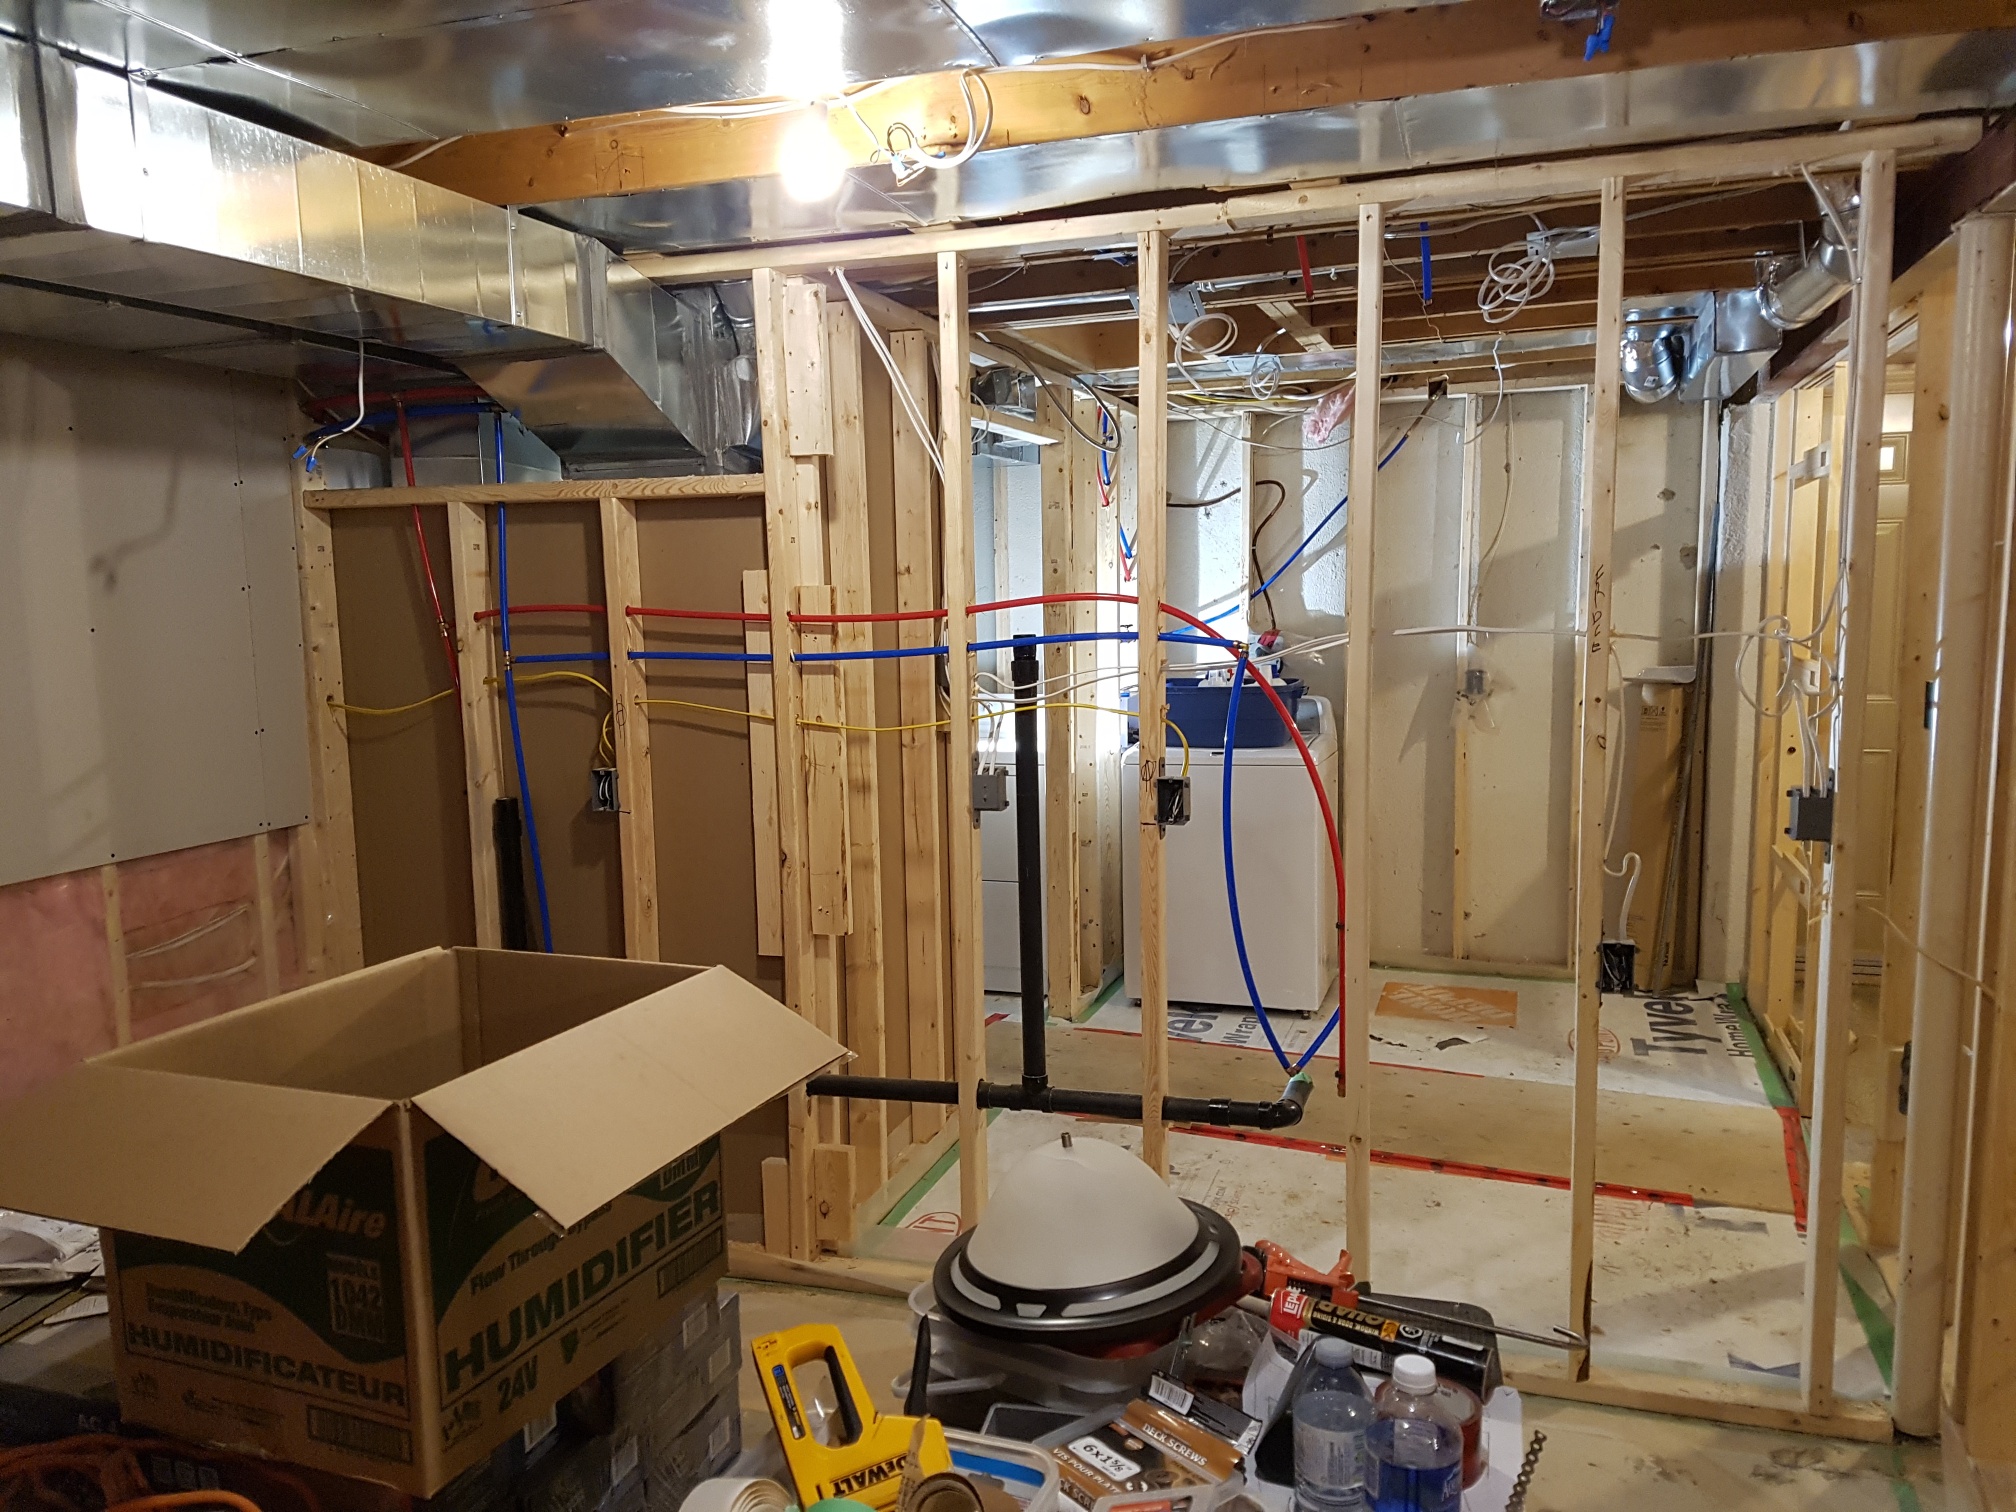
- Installing a new furnace with humidifier, and moving it to the other side of the space
- Installing new duct work around the perimeter of the room, so that we no longer had to duck under it. (When your son is 6’4″ this is a must!)
- Getting rid of the water tank and going with a tankless water heater. This allowed our furnace room, off the laundry room, to be much smaller, freeing up valuable space.
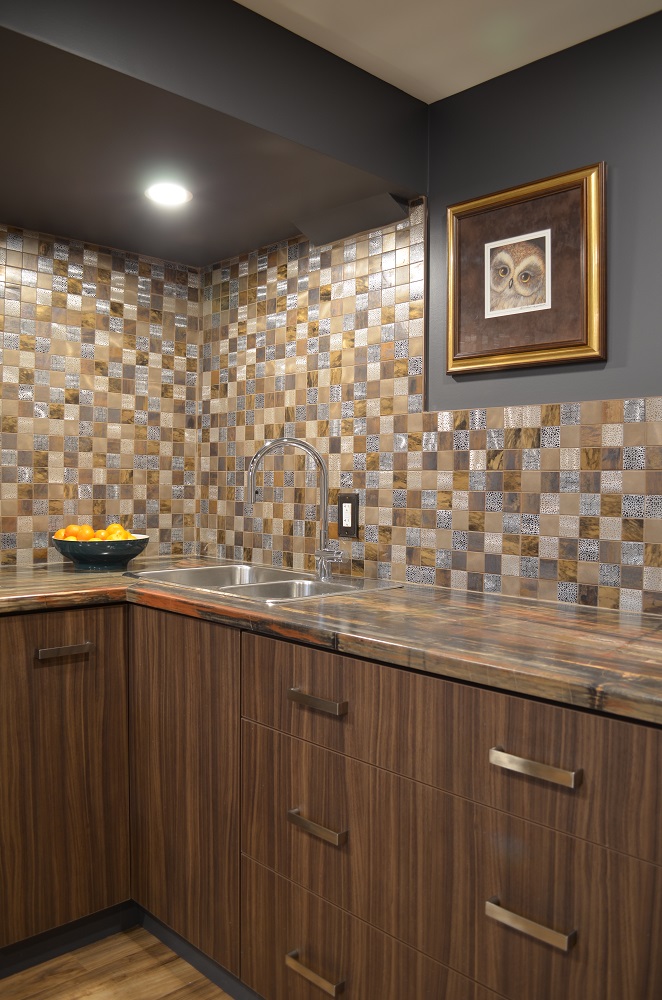
- Adding a small kitchen in the main room, in case future homeowners wanted to rent the space.
- Having a comfortable, multi-functional living area.
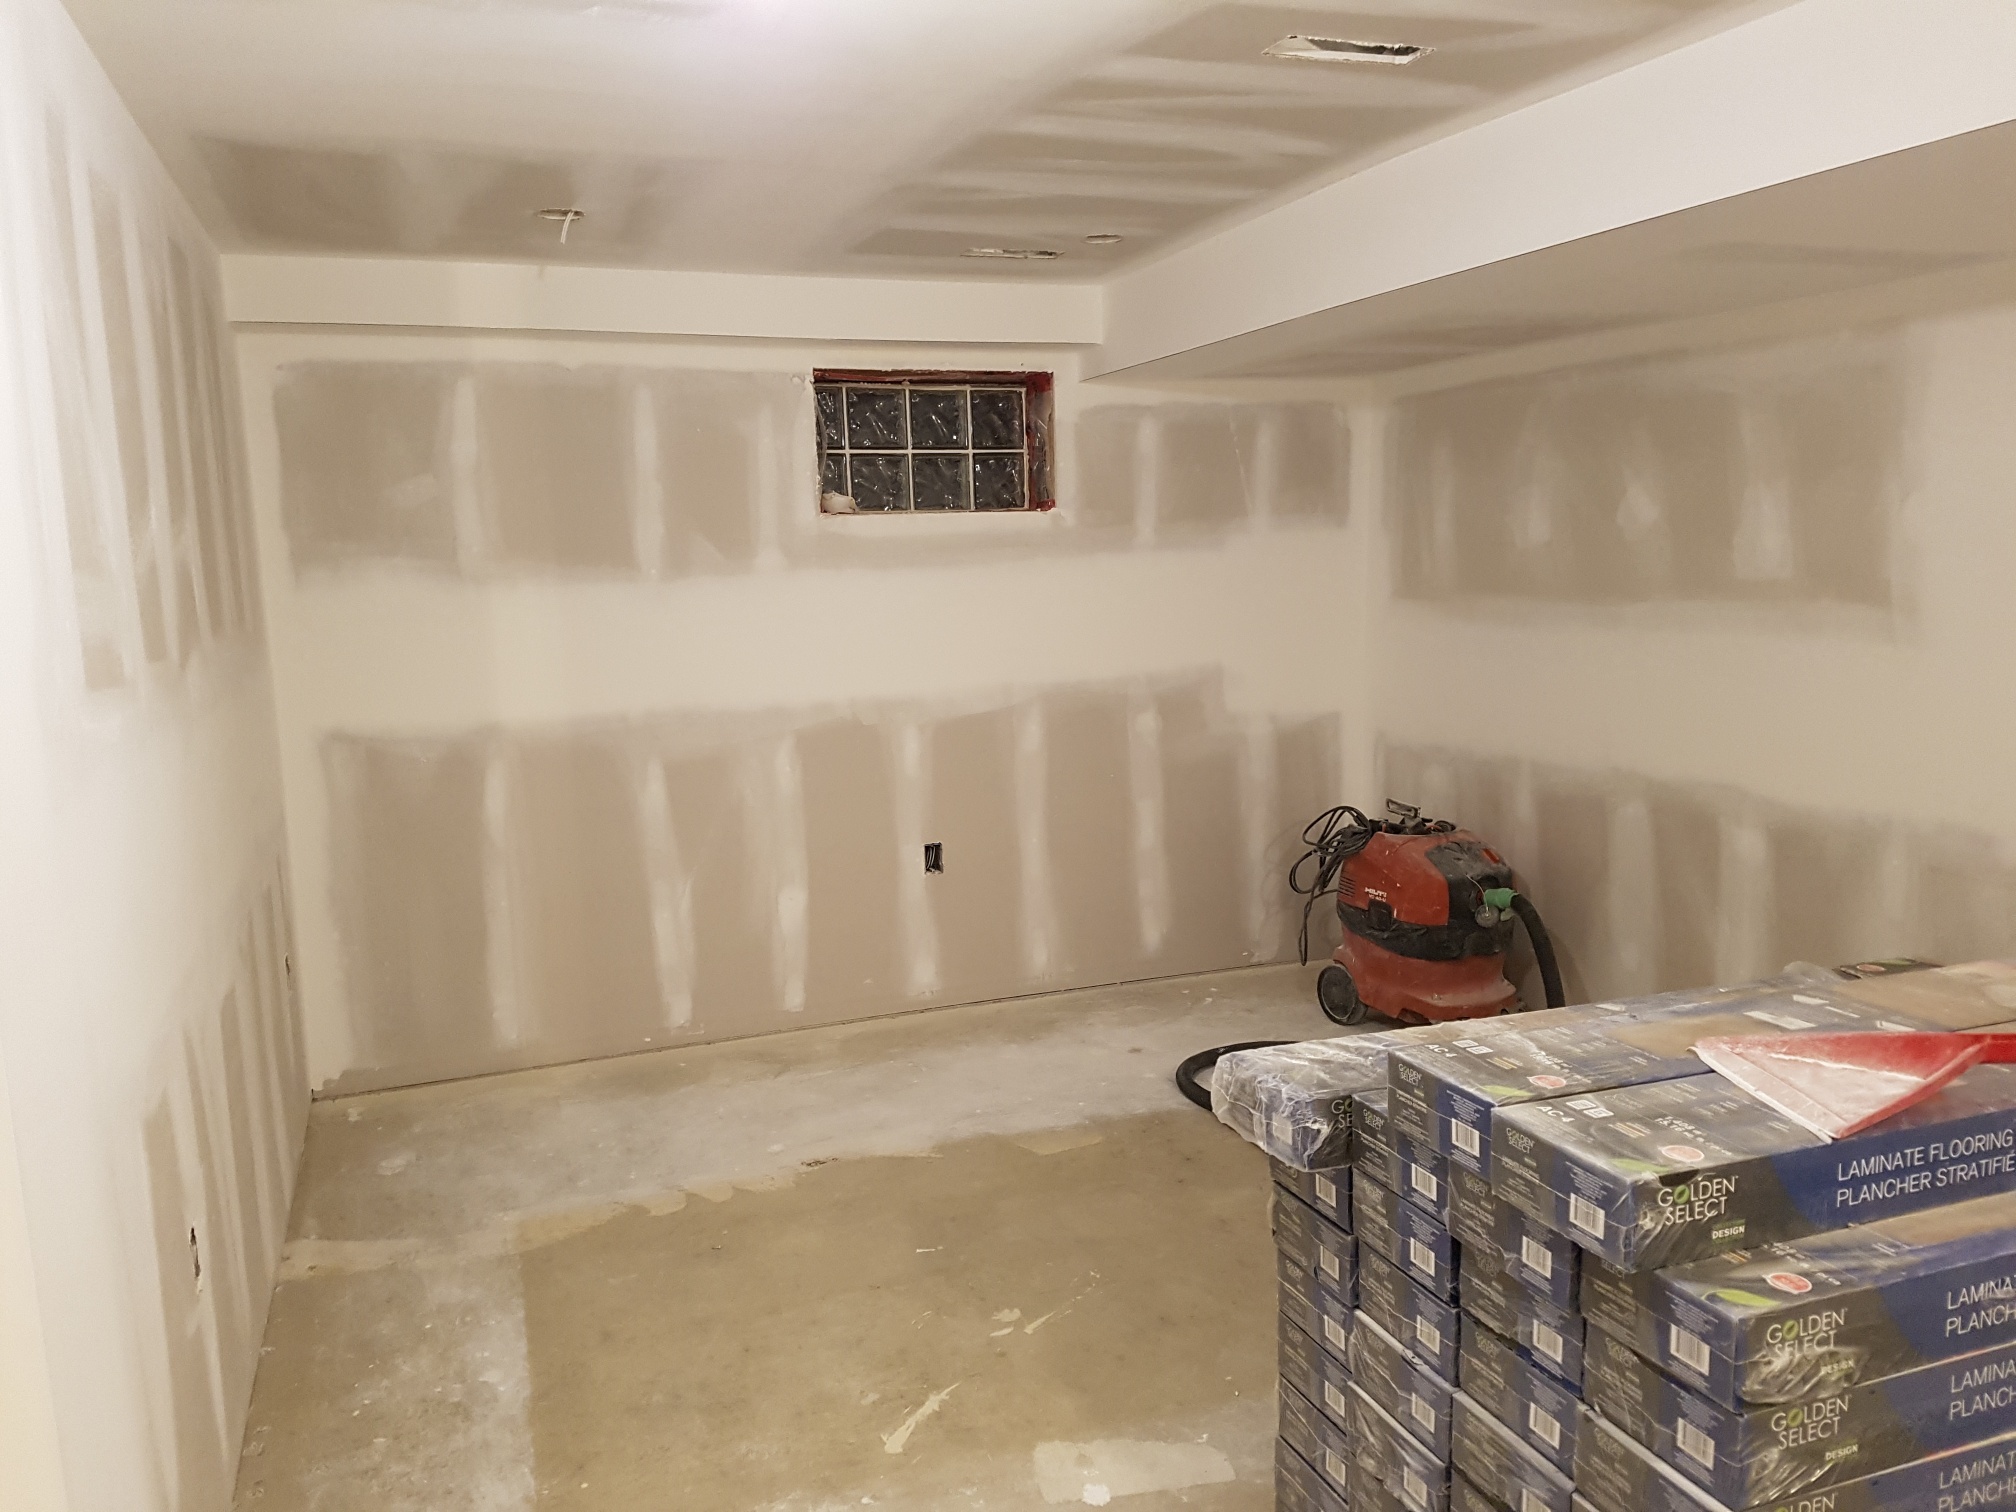
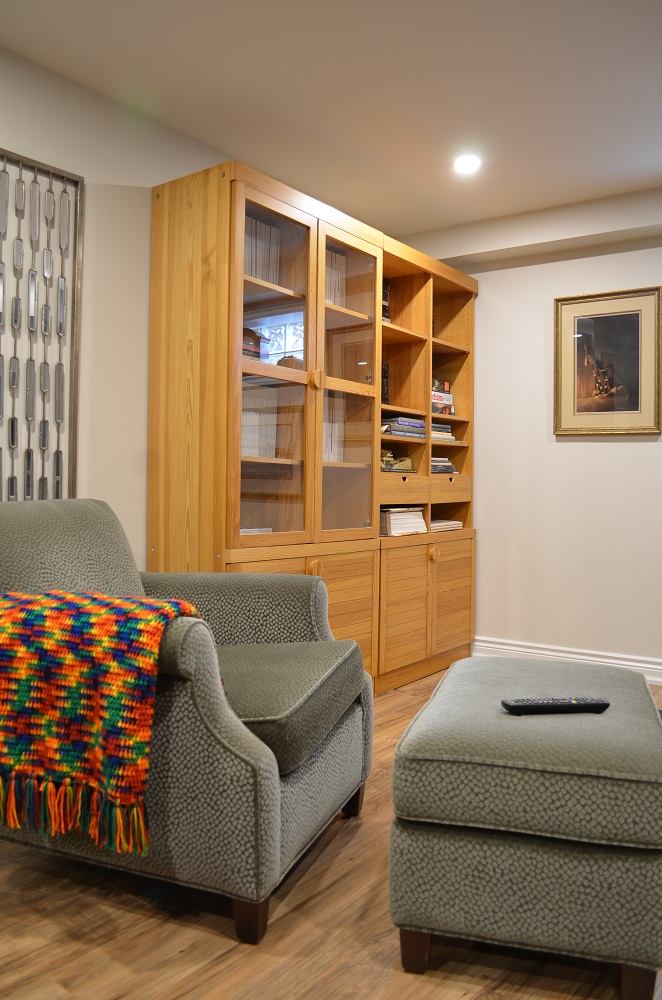
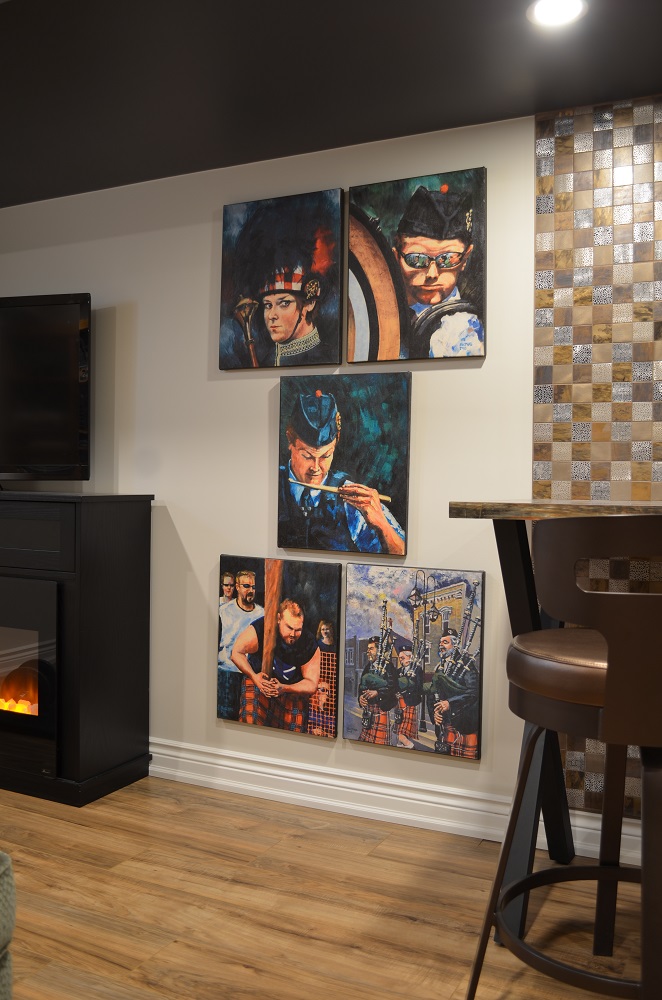
After
While our laundry room was an exercise in high-low design, the great room was to be low-low design. We repurposed furniture we already had and added budget-friendly pieces as required. Here are some of our resources:
- Costco — for laminate flooring
- Habitat for Humanity Restore — for the kitchen cabinets, new Euro-style fridge (not shown), and microwave hood (not shown). We also scored a chair and ottoman there.
- Stylish Fireplaces — we brought home an unsold fireplace cabinet from our showroom, as well as the copper-coloured stool at the kitchen counter.
- Abacus Countertops — our kitchen counter tops are Formica laminate, like our laundry room.
Read on to see how we pulled it all together.
Jeanne Grier is an award-winning interior decorator and owner of Stylish Fireplaces & Interiors. With over 25 years’ experience in the Toronto area, she has completed hundreds of makeovers. Her expertise extends to fireplaces, and she is an NFI Certified Hearth Design Specialist. She and her husband Colin operate a retail showroom in the Toronto area, featuring over 50 electric fireplaces, as well as wall coverings and fireplace accessories.